Achieving significant water savings with soil moisture sensors requires moving beyond simple installation to mastering the technical details that prevent data errors and optimize every drop.
- Accurate irrigation depends on calibrating sensors to your specific soil type, as a one-size-fits-all approach leads to significant water waste.
- The reliability of your data is directly tied to your power source; battery-related voltage drops can create “false droughts” and trigger unnecessary irrigation.
- Sensor data can be layered with other agronomic practices, like frost protection and no-till farming, to create compounding benefits and a faster return on investment.
Recommendation: Begin with a targeted pilot project on a representative block of your operation to validate sensor calibration, power solutions, and data interpretation before scaling across all acres.
For any vineyard or orchard owner in a water-scarce region, the pressure to reduce irrigation is relentless. Water rights are tightening, costs are rising, and every drop counts. Soil moisture sensors are consistently presented as the turnkey solution, a promise of precision and savings. The common advice is to simply “install sensors and save water.” While true in principle, this oversimplification is dangerous. It ignores the complex engineering and agronomic details that separate a 5% improvement from the transformative 20% reduction that is genuinely achievable.
The real challenge isn’t deciding *if* you should use sensors, but *how* to deploy them as a reliable, data-driven system. It’s about understanding the physics of your soil, the electrical limitations of your hardware, and the advanced applications that multiply their value. True water efficiency isn’t bought in a box; it’s engineered in the field. This involves a deeper look into the technology, from the communication protocols that cover thousands of acres to the specific sensor types that can withstand your soil’s chemistry.
This guide moves beyond the basics. We will deconstruct the critical technical decisions that an irrigation efficiency engineer would make. Instead of just stating that sensors work, we will explore the nuances of calibration, the hidden failure points in power management, and the strategies for turning raw data into actionable prescription maps. The goal is to equip you with the technical knowledge to not just use soil moisture sensors, but to master them for maximum water savings and operational resilience.
This article provides a structured engineering approach to deploying soil moisture sensors effectively. Below is a summary of the key technical areas we will cover, from establishing a reliable network to integrating sensor data into advanced farm management strategies.
Summary: An Engineer’s Guide to Smart Irrigation
- Why You Don’t Need Full Wi-Fi Coverage for LoRaWAN Farm Sensors?
- How to Calibrate Moisture Probes for Heavy Clay vs Sandy Loam?
- Capacitive or Tensiometric: Which Sensor Lasts Longer in Saline Soils?
- The Battery Maintenance Error That Leads to False Drought Readings
- Problem & Solution: Automating Frost Fans Based on Canopy Temperature
- How to Create a Variable Rate Prescription Map Without Hiring a Consultant?
- How to Size Your Battery to Survive a 3-Day Blackout?
- How to Transition 1000 Acres to No-Till Without Going Bankrupt in Year One?
Why You Don’t Need Full Wi-Fi Coverage for LoRaWAN Farm Sensors?
A common misconception when planning a smart farm network is the need for ubiquitous Wi-Fi. For sprawling vineyards and orchards, this is both technically and financially impractical. The engineering solution lies in a different technology: LoRaWAN (Long Range Wide Area Network). Unlike Wi-Fi, which is designed for high-bandwidth data over short distances, LoRaWAN is purpose-built for sending small packets of data—like a soil moisture reading—over many kilometers.
This low-power, long-range capability is a game-changer for agriculture. It means a single LoRaWAN gateway, strategically placed at a high elevation point, can cover thousands of acres and connect to hundreds of individual sensors. These sensors, requiring very little power, can operate for years on a single battery, drastically reducing maintenance. Case studies from technology providers like Semtech have demonstrated the power of this approach, with deployments achieving significant water reduction for commercial farms. Their smart agriculture implementations show that single gateway coverage can extend several kilometers, making it a highly scalable and cost-effective backbone for your sensor network.
The primary advantage is decoupling your sensor network from your main farm office’s internet infrastructure. You don’t need to install a complex and failure-prone mesh of Wi-Fi repeaters across your property. Instead, you build a dedicated, robust, and low-maintenance network specifically for your critical sensor data, ensuring reliability where it matters most: in the field.
How to Calibrate Moisture Probes for Heavy Clay vs Sandy Loam?
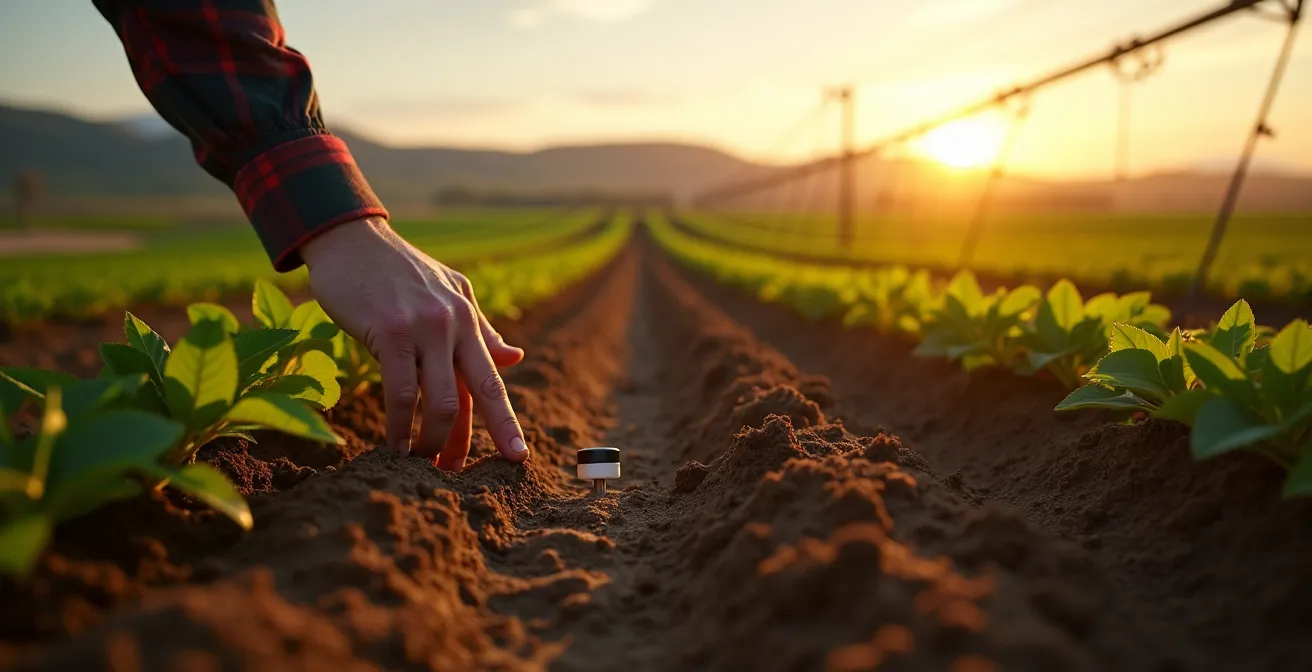
Once your network is established, the single most critical factor for data accuracy is sensor calibration. A sensor straight out of the box provides a raw electrical value, not a true measure of plant-available water. To translate this raw data into an accurate Volumetric Water Content (VWC), you must calibrate it to your specific soil texture. Heavy clay and sandy loam have vastly different water-holding properties; applying a generic calibration to both guarantees over- or under-irrigation.
The difference is substantial. Heavy clay soil holds a large amount of water, but much of it is unavailable to plant roots. Sandy loam holds less water, but a higher percentage of it is available. An uncalibrated sensor in clay might read “wet” when the plant is already stressed, while the same reading in sand might indicate optimal moisture. This isn’t a minor issue; research from the University of Minnesota Extension shows that a 5% calibration error can potentially lead to 10% over-irrigation. Proper calibration involves determining two key thresholds for each soil type: Field Capacity (the maximum water held after drainage) and the Wilting Point (when a plant can no longer extract water).
As the image above illustrates, the physical interaction between the sensor and soil texture is fundamental. The most reliable way to calibrate is the gravimetric method: taking a soil sample, measuring its VWC in a lab, and correlating that true value with the sensor’s raw output. While intensive, doing this for each major soil zone on your farm is a one-time investment that pays dividends for years. Once you establish these values, you can set precise irrigation triggers that are truly meaningful for your crop and soil.
The following table, based on data from agricultural extensions like Michigan State University, provides a starting point for understanding these critical parameters for different soil types. As this analysis of efficient irrigation management shows, these values dictate your entire irrigation strategy.
| Soil Type | Field Capacity | Wilting Point | Available Water | Trigger Point |
|---|---|---|---|---|
| Heavy Clay | 40-45% | 20-25% | 15-20% | 30-35% |
| Sandy Loam | 20-25% | 8-10% | 12-15% | 15-18% |
| Loam | 30-35% | 12-15% | 18-20% | 22-25% |
Capacitive or Tensiometric: Which Sensor Lasts Longer in Saline Soils?
Beyond soil texture, soil chemistry—specifically salinity—plays a decisive role in sensor selection and longevity. Salinity, measured by Electrical Conductivity (EC), can be elevated due to the parent soil material, irrigation water quality, or fertilizer applications. High EC can interfere with the readings of the most common sensor type, the capacitive sensor, and accelerate corrosion.
Capacitive sensors are popular for their low maintenance and durability. They work by measuring the dielectric constant of the soil, which changes with water content. However, because salts in the soil solution also conduct electricity, high salinity can distort this measurement, making the soil appear wetter than it is. In contrast, tensiometers directly measure soil water tension (or potential), the actual force plant roots must exert to extract water. This measurement is unaffected by salinity. However, they are more fragile and require regular maintenance, including refilling with water and checking for air bubbles.
The engineering trade-off is clear: simplicity versus accuracy in challenging conditions. Field data indicates that when soil EC exceeds 4 dS/m, capacitive sensors show reduced accuracy, making tensiometers the more reliable choice despite their higher maintenance burden of checks every 30-60 days. For a grower in a region with saline soils or water, choosing the wrong sensor type can lead to a system that provides misleading data from day one. Therefore, the first step is to test your soil’s EC.
Action Plan: Selecting the Right Sensor for Saline Conditions
- Measure your soil’s electrical conductivity (EC) using a portable meter across different management zones.
- If EC is below 2 dS/m, you can confidently choose capacitive sensors for their lower maintenance requirements.
- If EC is between 2-4 dS/m, prioritize multi-parameter sensors that measure both moisture and EC to allow for data correction.
- If EC is above 4 dS/m, install tensiometers with durable ceramic tips and budget for monthly maintenance checks.
- Regardless of sensor type, schedule periodic flushing of the sensor area with fresh water during the dormant season to help mitigate salt buildup.
The Battery Maintenance Error That Leads to False Drought Readings
A perfectly calibrated sensor in the right soil type can still produce catastrophic data if its power source is compromised. A common but frequently overlooked failure mode in battery-powered sensor networks is the “sensor brownout.” This occurs when a battery’s voltage drops below the sensor’s minimum operational threshold. The sensor doesn’t simply turn off; instead, it often begins to transmit erroneous, artificially low moisture readings.
This creates a dangerous “false drought” scenario. Your dashboard shows the soil is critically dry, prompting an irrigation cycle, when in reality, the moisture level is adequate. This single error, repeated across multiple sensors in a network, can completely negate any water savings and even lead to crop damage from waterlogging. A case study on the KestrelMet 6000 AG weather station highlighted this exact phenomenon, revealing that sensors experiencing voltage drops consistently reported 15-20% lower moisture readings than actual field conditions, triggering unnecessary irrigation events. The problem was solved not by replacing the sensors, but by upgrading the power source.

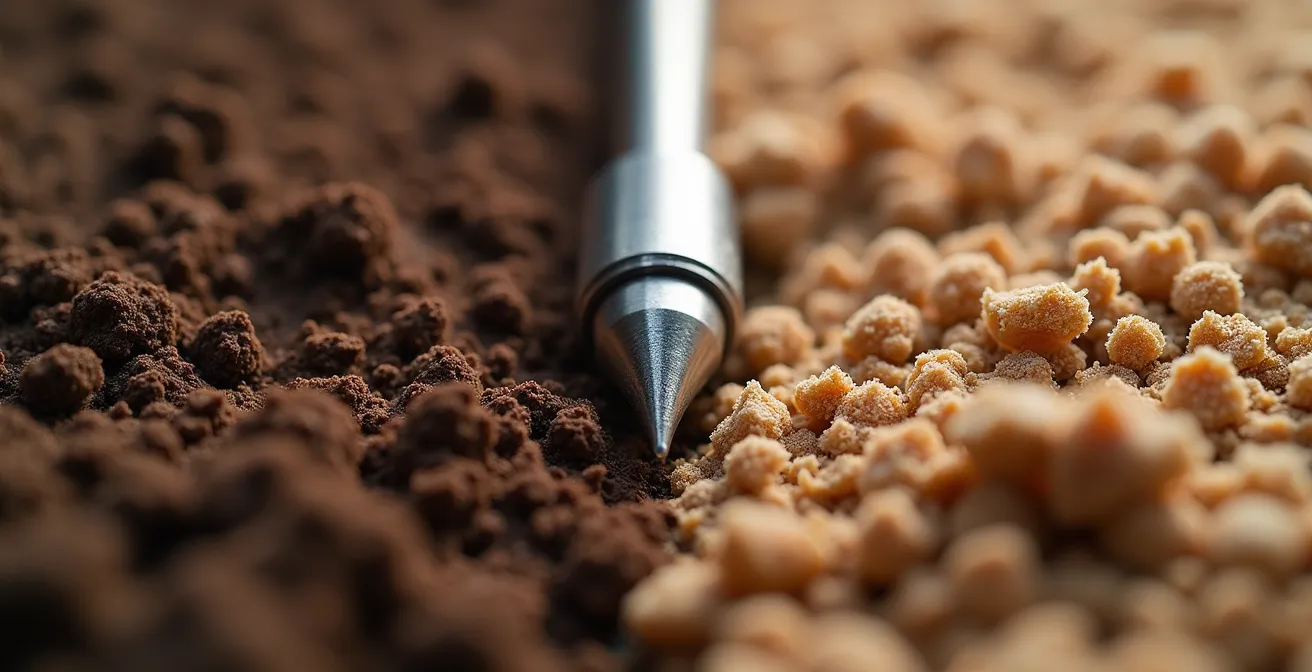
The solution is a more robust power management strategy. While standard lithium batteries have a lower initial cost, they require a strict replacement schedule and are susceptible to performance degradation in extreme temperatures. A superior engineering solution is to pair a smaller, rechargeable battery with a small solar panel for each sensor node. While the initial capital outlay is higher, this approach provides a stable power supply, eliminates the risk of sensor brownouts, and dramatically reduces long-term maintenance costs associated with battery replacements, as the field technician in the image above would attest.
Problem & Solution: Automating Frost Fans Based on Canopy Temperature
The value of a sensor network multiplies when its data is integrated into other farm management systems beyond simple irrigation scheduling. For high-value crops like grapes and tree nuts, one of the most powerful applications is in frost protection. The traditional approach is to turn on large frost fans or sprinkler systems when the ambient air temperature drops to a critical level. This is a blunt instrument that consumes significant energy and water.
A more intelligent, engineered approach uses sensor data to create a multi-condition automation loop. First, it acknowledges a key principle of soil physics: moist soil acts as a better thermal battery than dry soil. It absorbs more solar radiation during the day and releases that heat more slowly at night. Research from UC Santa Barbara demonstrates that maintaining soil moisture above 25% volumetric water content can provide up to 2°C of additional passive frost protection through this increased thermal mass.
With this principle in mind, you can automate your frost protection far more efficiently. The system logic becomes: IF the canopy temperature sensor (placed at bud height) drops below 2°C, AND the soil moisture sensor reading is below a healthy threshold (e.g., 25% VWC), THEN activate the frost fans. This dual-condition trigger prevents the fans from running unnecessarily when the soil’s thermal mass is already providing adequate protection. This not only saves tremendous energy costs but also conserves water by integrating your irrigation strategy (maintaining soil moisture) with your frost mitigation strategy. It turns two separate operational costs into one synergistic, data-driven system.
How to Create a Variable Rate Prescription Map Without Hiring a Consultant?
Collecting accurate data from individual points is the first step; turning that data into a whole-field irrigation strategy is the next. For large operations, a uniform irrigation schedule is inherently inefficient, as soil types and topography create significant variability. The solution is Variable Rate Irrigation (VRI), which applies different amounts of water to different zones. The key to VRI is the prescription map, and you don’t necessarily need to hire an expensive consultant to create one.
A do-it-yourself approach can yield excellent results. A grid sampling deployment in a vineyard, for instance, used just three collector nodes to create detailed management zones, revealing that only 21.16% of the area was in the optimal moisture range, highlighting the immense water waste from uniform irrigation. You can replicate this process using free tools. The first step is to identify broad zones of variability, after which you can use targeted sensor placement to refine the map. How far apart should sensors be? For initial mapping, a grid of one sensor every 5-10 acres in a representative area can reveal these macro-level variations.
Here is a practical, low-cost process to create your first prescription map:
- Start by downloading free Sentinel-2 satellite imagery of your property. Use the NDVI (Normalized Difference Vegetation Index) layer to identify 3-5 distinct zones of high, medium, and low vigor.
- Using a portable soil moisture probe, take manual readings at 20-30 GPS-marked points that are representative of these different vigor zones. Focus on the root zone depth, typically 12 to 24 inches for most vines and trees.
- Import these GPS points and their associated moisture values into free GIS software like Google Earth Pro or QGIS.
- Visually group the points into clusters of similar moisture readings and draw polygon boundaries around these new, data-verified management zones.
- Export these polygons as a KML or shapefile, which can then be imported into most modern VRI controllers to execute your zone-specific irrigation plan.
How to Size Your Battery to Survive a 3-Day Blackout?
Data reliability is paramount, and nothing compromises it faster than a power outage. For a sensor network’s central controller and gateway, which are often located in remote sheds or pump houses, grid interruptions during storms or high-demand periods are a real threat. A robust battery backup system isn’t a luxury; it’s a core component of a resilient network. The key engineering question is how to size it correctly to survive a multi-day outage.
Sizing the battery requires a simple but critical calculation: determining the total power draw of your essential components and multiplying it by the desired hours of autonomy, with a safety factor built in. Your essential components are, at minimum, the irrigation controller and the LoRaWAN gateway. You must calculate their combined current draw in Amps (A). To survive a 3-day (72-hour) blackout, the formula is: Battery Capacity (in Amp-hours, Ah) = Total Current Draw (A) x 72 (h) x 1.5 (Safety Factor). The 1.5 safety factor accounts for battery degradation over time and inefficiencies in the system.
The table below provides a clear guide for sizing your battery and the corresponding solar panel needed to keep it charged, based on a typical system configuration. As this analysis of sustainable power systems demonstrates, matching the solar panel to the load is crucial for long-term reliability.
| System Components | Current Draw | 72hr Requirement | With 1.5x Safety | Solar Panel Size |
|---|---|---|---|---|
| Controller Only | 0.5A | 36Ah | 54Ah | 50W |
| Controller + Gateway | 0.8A | 58Ah | 87Ah | 75W |
| Full System + Sensors | 1.2A | 86Ah | 130Ah | 100W |
Investing in a properly sized backup system ensures that even if the grid goes down, your eyes in the field do not. You maintain data continuity, control over your irrigation, and peace of mind, preventing a power outage from turning into a water management crisis.
Key Takeaways
- True water savings come from mastering the technical details of sensor deployment, not just the installation itself.
- Data accuracy is a chain of dependencies: network reliability (LoRaWAN), correct calibration (soil type), and stable power (solar backup). A failure in one link invalidates the entire system.
- The value of a sensor network is maximized when its data is integrated into other farm systems, such as frost protection and nutrient management, creating synergistic efficiencies.
How to Transition 1000 Acres to No-Till Without Going Bankrupt in Year One?
Soil moisture sensors are not just an operational tool; they are a strategic asset for large-scale agronomic transitions, such as converting to no-till farming. No-till offers profound long-term benefits, especially for water conservation. By preserving soil structure and increasing organic matter, it dramatically improves water infiltration and retention. Data from the Cool Farm Alliance shows that no-till practices can increase soil water holding capacity by 40%. However, the transition period carries significant financial risk, with potential yield drops in the first few years as the soil biology adapts.
For a 1000-acre operation, a full-scale, immediate transition is a gamble. The engineered approach is a phased, data-driven rollout where soil moisture sensors act as your primary risk-management tool. By using sensors, you can objectively measure the week-by-week improvement in water retention on a small test plot, allowing you to fine-tune your new irrigation strategy before deploying it at scale. This data provides the confidence to reduce irrigation without risking yield loss.
Furthermore, this documented, sensor-verified improvement in water use efficiency can be crucial for accessing government conservation programs. An analysis of irrigation patterns from 2008-2020 showed a 20% decrease in surface water withdrawals as farms adopted conservation practices, with those using sensors during the transition being able to prove their impact and qualify for payments. This turns a capital expense (sensors) into a revenue-generating asset.
- Year 1: Implement no-till on a 100-acre test plot. Install a grid of moisture sensors (e.g., one every 20 acres). Maintain an adjacent 100-acre conventional plot with identical sensor placement to act as a control.
- Document: Track the weekly moisture retention differences between the two plots. Use this data to progressively reduce irrigation on the no-till plot while ensuring VWC stays above the stress threshold.
- Verify & Apply: Use the sensor data logs as concrete evidence of improved water efficiency when applying for USDA conservation incentive programs like EQIP or CSP.
- Year 2: Based on the proven water savings and stable yields from Year 1, confidently expand the no-till practice to an additional 300-400 acres.
To truly achieve a 20% reduction in water use, you must shift your thinking from simply installing hardware to engineering a complete information system. By mastering these technical details of connectivity, calibration, power, and data integration, you transform soil moisture sensors from a simple tool into the intelligent core of a resilient and highly efficient farming operation.